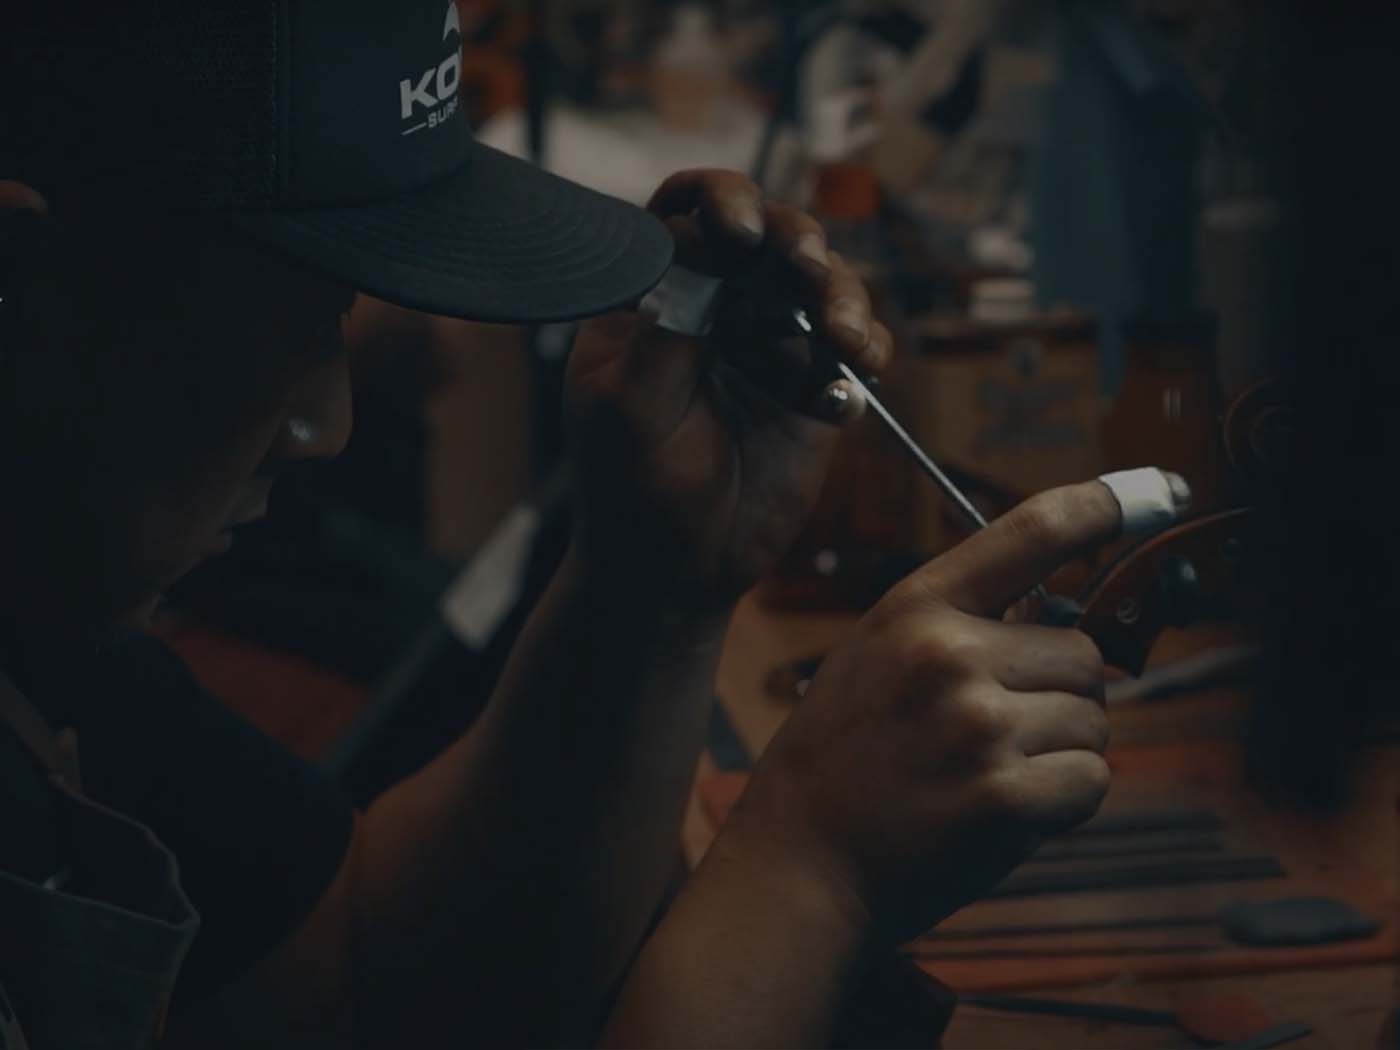
Our testing and adjustment process is an integral part of why we are here today. Thanks to our in-house workshop, and knowledgeable, skillful luthiers.
1. String Height
Three factors determine string height: the nut, fingerboard, and bridge. In regards to the nut and bridge, how deep the strings rest in the groves within the nut effects the height of each string. In addition, to the overall height of the top curcature of the bridge and its respective string depth.

The final piece is the actual grading of the fingerboard which provides a subtle effect on the string height but plays a vital role on the feel and playability of the strings.


2. Bridge Seating/Shaping
Bridge seating allows for the best sound transfer of string vibrations from the bridge into the top of the violin. One of the most time consuming processes, the luthier shapes and fits the feet of the bridge to perfectly match the curvature of the top of the violin. Every violin has a different curvature so you can’t buy a pre-fitted bridge out of the box. A fitted bridge is simply one that has the string notches pre cut and the top of the bridge curvature shaped. The feet of the bridge however, will not seat perfectly with the violin until they are hand shaped by you or a luthier.
The bridge shaping is essentially a thinning process of planing down the total thickness of the bridge and determines the tone and overall resonance of the instrument. Thicker will generally be darker in tone. As you thin out the bridge the sound will slightly brighten up but more importantly, the projection will improve.

3. Fingerboard Planing/Shaping
A violin’s fingerboard is the stage for the fingers. The smoother the better. Any indentations or more commonly, depressions will cause unwanted spaces or buzzing with the strings as they are pressed. Certain spacing is essential for the proper string spacing and feel as the notes are played.
4. E-String Parchment
Short but an essential step in protecting the E string from cutting into bridge. Strings can include a protector band but that can affect the tone of the string. Parchment ( thin piece of dried hide leather)
5. Nut-String Slot Depth and Spacing
The slots for the strings in the nut of the violin must be tested to be evenly spaced and the depth must be cut correctly to set the desired string height in conjunction with the depth of the slots in the bridge.

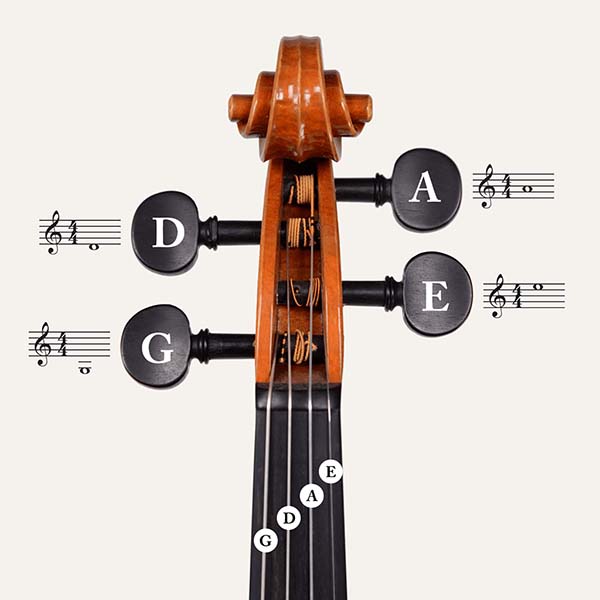
6. Peg adjustment/Reaming/Shaving
The most adjusted part of the violin is certainly the scroll pegs. Working with the nature of only friction, the pegs must be precisely shaped and shaven along with the holes to allow not only a secure hold of the string tension but , also allowing smooth and precise adjustment for tuning. Without this step even an exceptional violin is deemed useless without this adjustment.
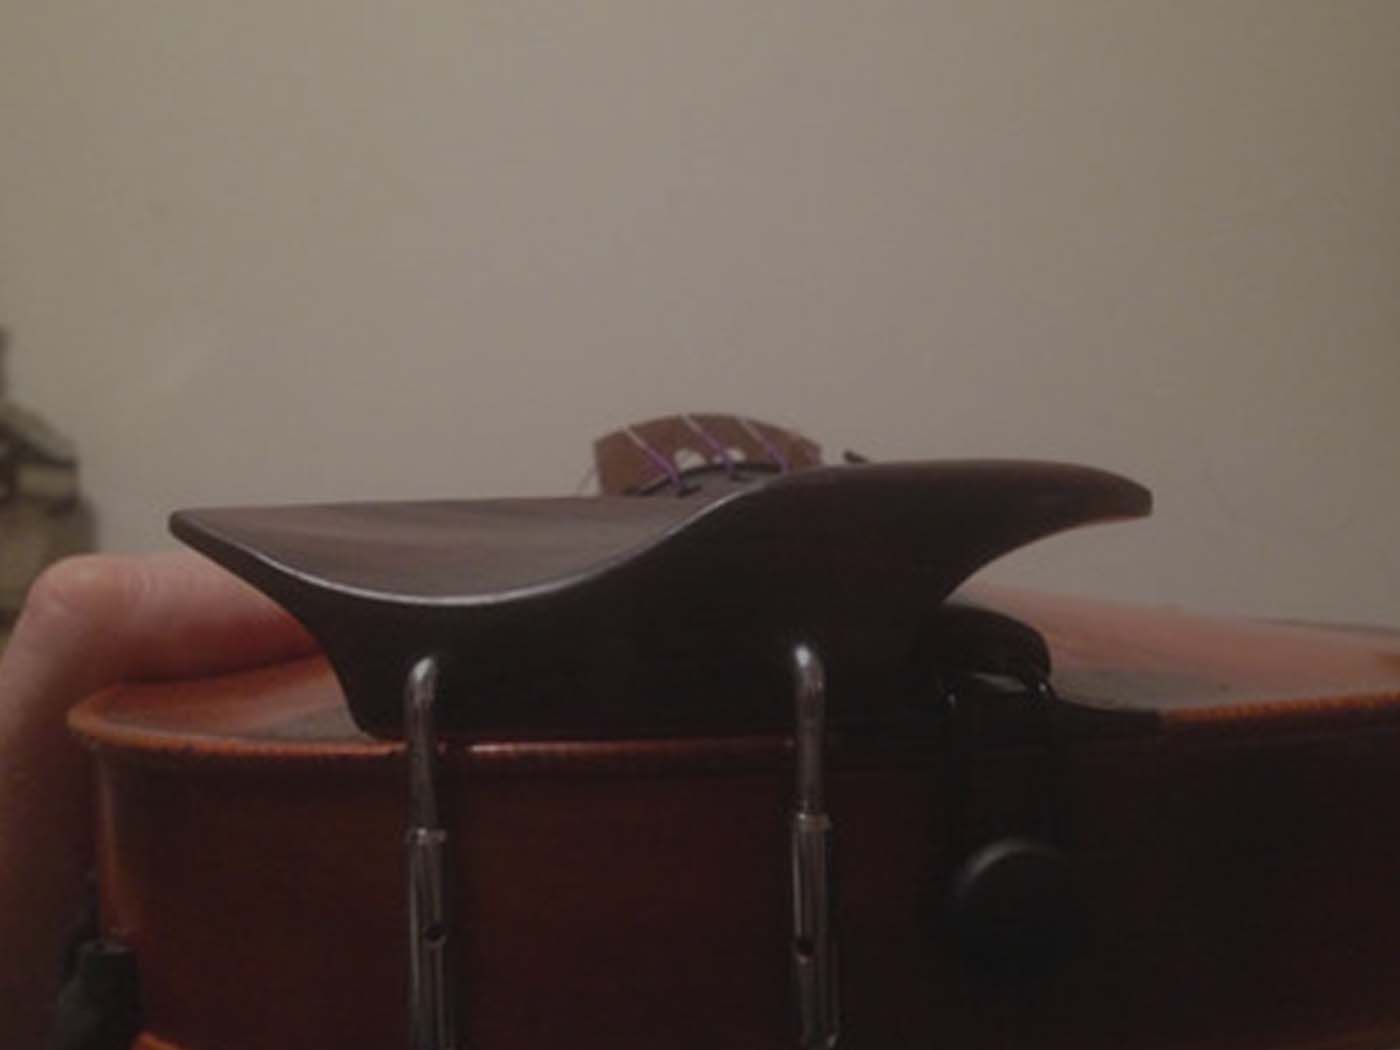
7. Fine Tuners/Tailpiece/End Button - Installation & Adjustment
A process that is essentially installation and testing of the component’s functionality holding the tailpiece when strings are at full tension and eliminating any abnormal noise.
8. Soundpost - Cut/Placement/Adjustment
Throughout the years we have not only sold thousands of violins but also have tested countless violins in building our own line of instruments. One of the most profound outcomes of adjusting the violin is the soundpost. Such an unassuming piece of maple, looking nothing more than a stick is the most integral part of connecting the string resonance from the top of the violin to the bottom.

Just as the bridge needs to make total contact with the surface of the violin, the sound post must make this same level of contact with the internal surface of the top and bottom plates of the violin. The sound post is wedged right under the location of the bridge foot on the side of the E string and must be cut at the perfect angle to match the curvature of the top of the violin.

Sanding for instance would seem to be the first choice for shaping. However, this method actually leaves fraying and negatively affects the tone.

The proper method is the implementation of a knife, A very sharp knife, to create a perfectly clean cut of the post that matches the curvature and angle of the violin top plate. The resonance is severely compromised if the post fit is not set to the correct position and load pressure.

9. Structural Inspection/Final String Tuning
Coming to the end of the path is the final testing stage and string tuning for shipment. Fiddlershop has developed our own bridge and string bracing out of cardboard to allow the violin to arrive at your doorstep in tune!

10. Final Cleaning
The final step before packing up and shipping out to our customers. Using our polish and cleaner so the violin looks its best. Look into our post: a plebeian guide on maintaining the violin.